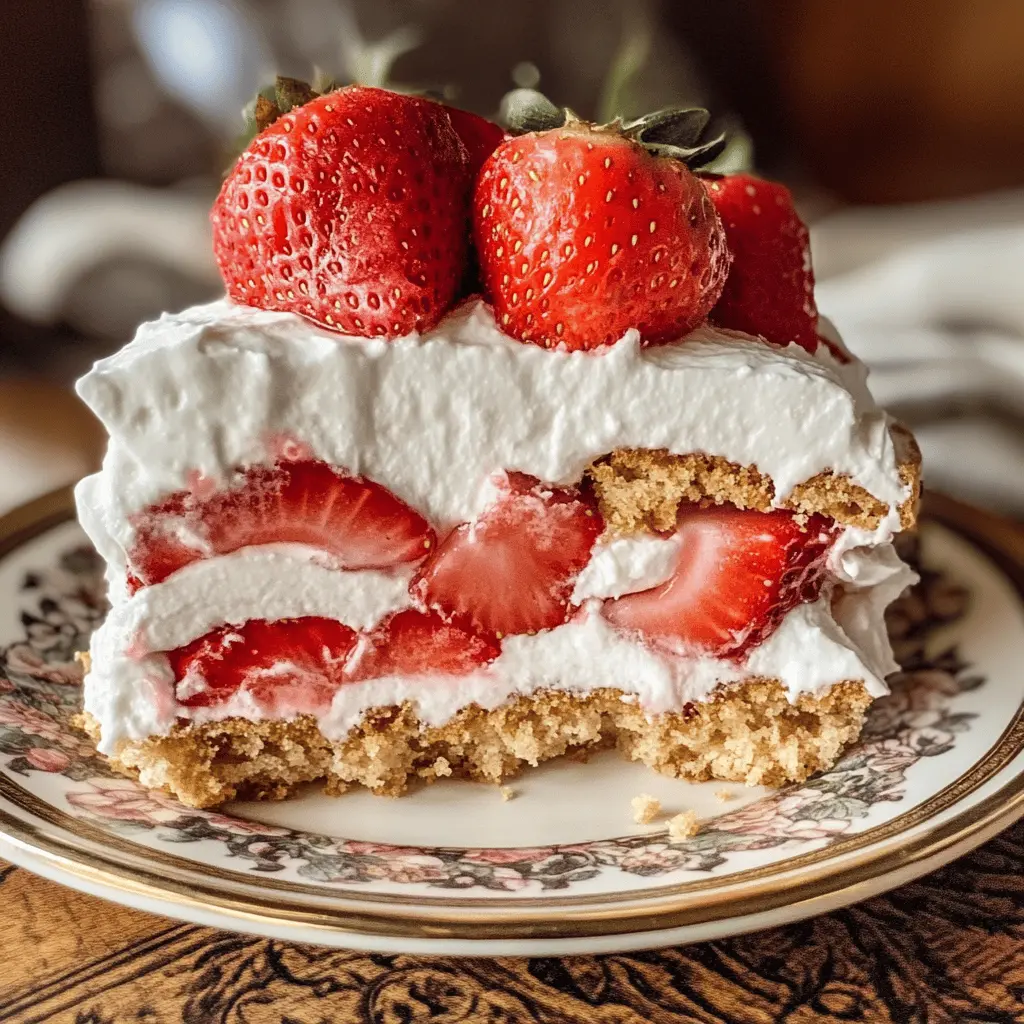
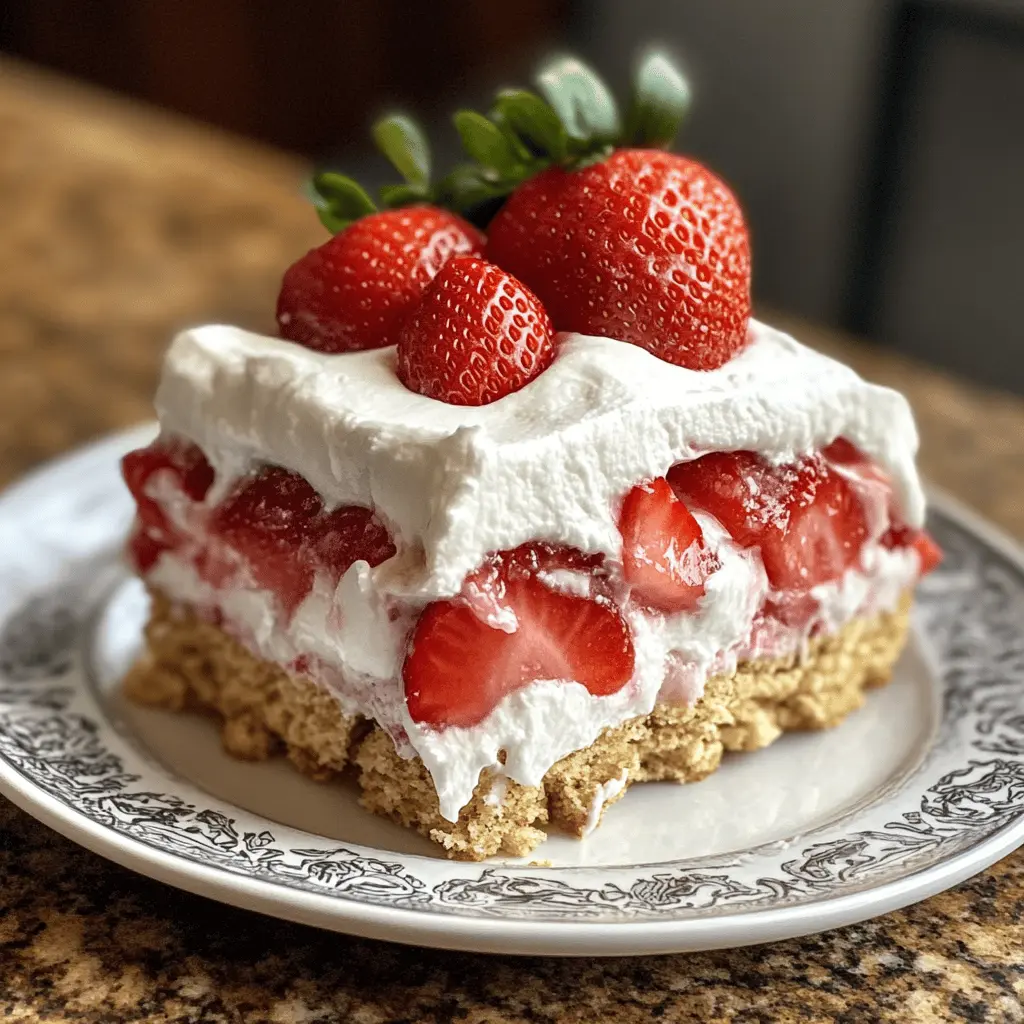
This Strawberry Icebox Cake is a cool and creamy treat that’s super easy to make! With layers of fluffy whipped cream and fresh strawberries, it’s perfect for warm days.
Honestly, who doesn’t love a dessert that requires no baking? I just assemble the layers, pop it in the fridge, and forget about it until dessert time—what a breeze!
Key Ingredients & Substitutions
Heavy Whipping Cream: This is crucial for a fluffy whipped cream. If you’re looking for a lighter option, try coconut cream or use a non-dairy whipping cream. I find that coconut cream gives a lovely tropical taste!
Powdered Sugar: It sweetens the whipped cream while keeping it smooth. If you’re aiming for less sugar, you could use a sugar substitute like Stevia. However, adjust the quantity according to the sweetness preference.
Vanilla Extract: This adds a warm flavor to the cream. You can use almond extract for a unique twist or vanilla bean paste for a richer taste!
Graham Crackers: These are traditional in an icebox cake, but Nilla wafers or even crushed Oreos can be fun alternatives! They will change the flavor slightly but in a delightful way.
Fresh Strawberries: Fresh fruit adds natural sweetness. If strawberries aren’t in season, try using raspberries or blueberries. Just make sure to adjust the layering for whatever fruit you choose!
How Do I Achieve Perfectly Whipped Cream?
Getting your whipped cream right is key for this cake. Follow these simple steps for the best texture:
- Start with cold heavy whipping cream, and work in a chilled mixing bowl. The cold temperature helps it whip better!
- Beat on medium speed initially to avoid splatter. Once it thickens, go to high speed until stiff peaks form. This means it should hold its shape well.
- Be careful not to over-whip. If it starts to look grainy or separates, it’s gone too far. Stop as soon as you see those peaks!
With these tips, you’ll have luscious whipped cream perfect for layering in your icebox cake!
How to Make Strawberry Icebox Cake (No Bake)
Ingredients You’ll Need:
For the Whipped Cream:
- 2 cups heavy whipping cream
- 1 cup powdered sugar
- 1 teaspoon vanilla extract
For the Layers:
- 1 package (14 oz) graham crackers (or Nilla wafers)
- 2 cups fresh strawberries, sliced
- Additional strawberries for garnish
How Much Time Will You Need?
This no-bake Strawberry Icebox Cake takes about 15 minutes to prepare and requires at least 4 hours to chill in the refrigerator. It’s perfect for making ahead of time and enjoying later!
Step-by-Step Instructions:
1. Make the Whipped Cream:
In a large mixing bowl, combine the heavy whipping cream, powdered sugar, and vanilla extract. Using a hand mixer or a whisk, beat the mixture until stiff peaks form. This means the cream should hold its shape well—this will be your delicious whipped cream!
2. Prepare the Baking Dish:
Grab a 9×13 inch baking dish and spread a thin layer of the whipped cream mixture on the bottom. This creates a lovely base for the cake.
3. Layer the Graham Crackers:
Take your graham crackers (or Nilla wafers) and lay them flat over the whipped cream, covering the entire bottom of the dish. Make sure they fit snugly!
4. Add More Whipped Cream:
Spread half of the remaining whipped cream mixture over the graham crackers. Use a spatula to smooth it out evenly for a nice, creamy layer.
5. Layer the Strawberries:
Now, it’s time to add some fruity goodness! Layer half of the sliced strawberries on top of the whipped cream mixture. This will add flavor and freshness!
6. Repeat the Layers:
Repeat what you just did: add another layer of graham crackers on top of the strawberries, followed by the rest of the whipped cream mixture, and then the remaining sliced strawberries on top. You’ll end up with a beautiful layered cake!
7. Chill the Cake:
Cover the dish tightly with plastic wrap and refrigerate for at least 4 hours, or overnight if you can wait! This step is super important for letting the cake set and the flavors blend together.
8. Garnish and Serve:
When you’re ready to serve, take off the plastic wrap and decorate the top with additional sliced strawberries. Slice the cake into squares and serve chilled. Enjoy your refreshing Strawberry Icebox Cake!
Can I Use Different Types of Cream?
Yes, you can use a lighter cream like whipping cream, but the texture might not be as rich and fluffy. For a non-dairy option, try coconut cream, but make sure to chill it overnight and whip it well for the best results.
What If I Don’t Have Graham Crackers?
No problem! You can substitute with Nilla wafers or any other cookie like digestive biscuits or even ladyfingers. Just check that they hold up well when layered with the whipped cream and strawberries!
How Do I Store Leftovers?
Store any leftovers in an airtight container in the fridge for up to 3 days. Make sure to keep it covered to prevent it from absorbing other odors or drying out.
Can I Make This Cake Ahead of Time?
Absolutely! This cake actually tastes even better after a day in the fridge, allowing the flavors to meld. Just be sure to cover it well with plastic wrap or a lid before refrigerating to keep it fresh!